Showing posts with label Indian Sweets. Show all posts

Saturday, 13 April 2013

Hot Jalebis and lamba gathia for Saturday brunch


Spring is in the air!!  I had kept some Ondhwa mixture and jalebi mixture to ferment last night.  Surprisingly, the jalebi's turned out really great this morning so we had a brunch of  store bought papdi gathia and home made jalebi.  Recipe for lamba gathia is in my blog.


I made some lamba gathia too.


They turned out great following my recipe:


If you enjoy reading my blog, please click on Follow or become a fan of my page on Facebook or follow me on Twitter.

My blog is also available on Kindle.


Monday, 25 March 2013

Almond Barfi - An Indian sweet with powdered milk and almonds


These almond barfis were made by my husband as a surprise for me mother’s day.  He adapted my recipe for chocolate barfis and came up with these delicious almond barfis. They were really delicious and easy to make. If he can make them - anyone can!! (BTW: more recipes to come from him later this week!!)

Here's the recipe as written by him with step by step pictures:

Ingredients for about 20 slices

3 cups of full cream milk powder
1 cup of sugar
1 cup of ground almonds
½ cup almond halves
1 teaspoon cardamom powder
2-3 pinches of saffron
2 tablespoons milk
1 tablespoon ghee (clarified butter)

Method

1.  Add three quarter cup of water to the sugar and slowly bring to boil until the sugar has melted.  This should take under 10 minutes on a high.

2.  Once the sugar and water mixture starts to feel sticky (Don't allow it to become stringy or stiff); add the milk powder to the sugar mixture and stir.  


3.  Mix well and once mixed, lower the heat.  Add the saffron and cardomom powder now and stir it in. ( Soak the saffron in two tablespoons of milk for 5-6 minutes as this gives the barfi the flavour and the colour).


4.  Add the ground almonds and ghee.  Cook this mixture on a medium heat for 5-7 minutes and take it off the heat.  


5. It may feel a bit soft but will settle and become firm once it cools.


6.  Grease a dish with some oil and turn the barfi mixture onto the dish.  Spread the mixture using the back of a spoon and smoothen it. Garnish it with almond halves.

7 .  Allow this mixture to cool until it solidifies.   


8.  Once the barfi has cooled, cut it into squares or diamonds and it’s ready to eat.  Any left over barfis should be kept in an air tight container and should be fine for a week.


If you enjoy reading my blog, please click on Follow or become a fan of my page on Facebook or follow me on Twitter.

My blog is also available on Kindle.


Sunday, 13 November 2011

Chocolate Barfi - An Indian Sweet


This sweet was a favourite of mine when I was a child and is now a favourite of my children.  This is the first time I made these barfis so I was a bit apprehensive of how they would turn out as the recipe as taught to me by my father in law is really simple.  How can something cooked so quickly and simply taste so great? But believe me they tasted better than any barfis I have ever eaten.   I changed the original recipe given to me and reduced the sugar as the chocolate layer tends to be very sweet.

Ingredients for about 25-30 slices

4 cups of full cream milk powder
1 cup of sugar
1 teaspoon cardamom powder
2-3 pinches of saffron
1 tablespoon ghee (clarified butter)
½ cup of milk
300 grams cooking chocolate (I used 2 bars of Green & Black's Cooks Organic Milk chocolate)

Method

1.  Add three quarter cup of water to the sugar and slowly bring to boil until the sugar has melted.  This should take under 10 minutes on a high.

2.  Once the sugar and water mixture starts to feel sticky (Don't allow it to become stringy or stiff); add the milk powder to the sugar mixture, stir and add in the milk and ghee. 


3.  Mix well and once mixed, turn off the heat.  Add the saffron and cardomom powder now. ( Soak the saffron in a tablespoon of milk for 5-6 minutes as this gives the barfi the flavour and the colour).


4.   Grease a dish with some oil and turn the barfi mixture onto the dish.  Spread the mixture using the back of a spoon and smoothen it.

5.  Allow this mixture to cool until it solidifies.  I usually leave it overnight.


6.  Once the barfi has cooled, it's time to layer it with the cooking chocolate

7.  Cooking chocolate is best melted by using indirect heat.  Cut the chocolate into small pieces and put it in a heatproof bowl and place it in a shallow pan filled with hot water. Keep stirring the chocolate to avoid it scorching.

8.  Once melted, spread it evenly over the barfi and let it cool for at least 6-8 hours.


9.  Once cool, cut the barfi into bite size squares and store on an airtight container.  Our barfi's turned out to be so delicious that they got eaten quite quickly by friends and family.  If you manage to save any barfi - you can store them for a week in a cool place.


If you enjoy reading my blog, please click on Follow or become a fan of my page on Facebook or follow me on Twitter.

My blog  is also available on Kindle.  


Thursday, 14 July 2011

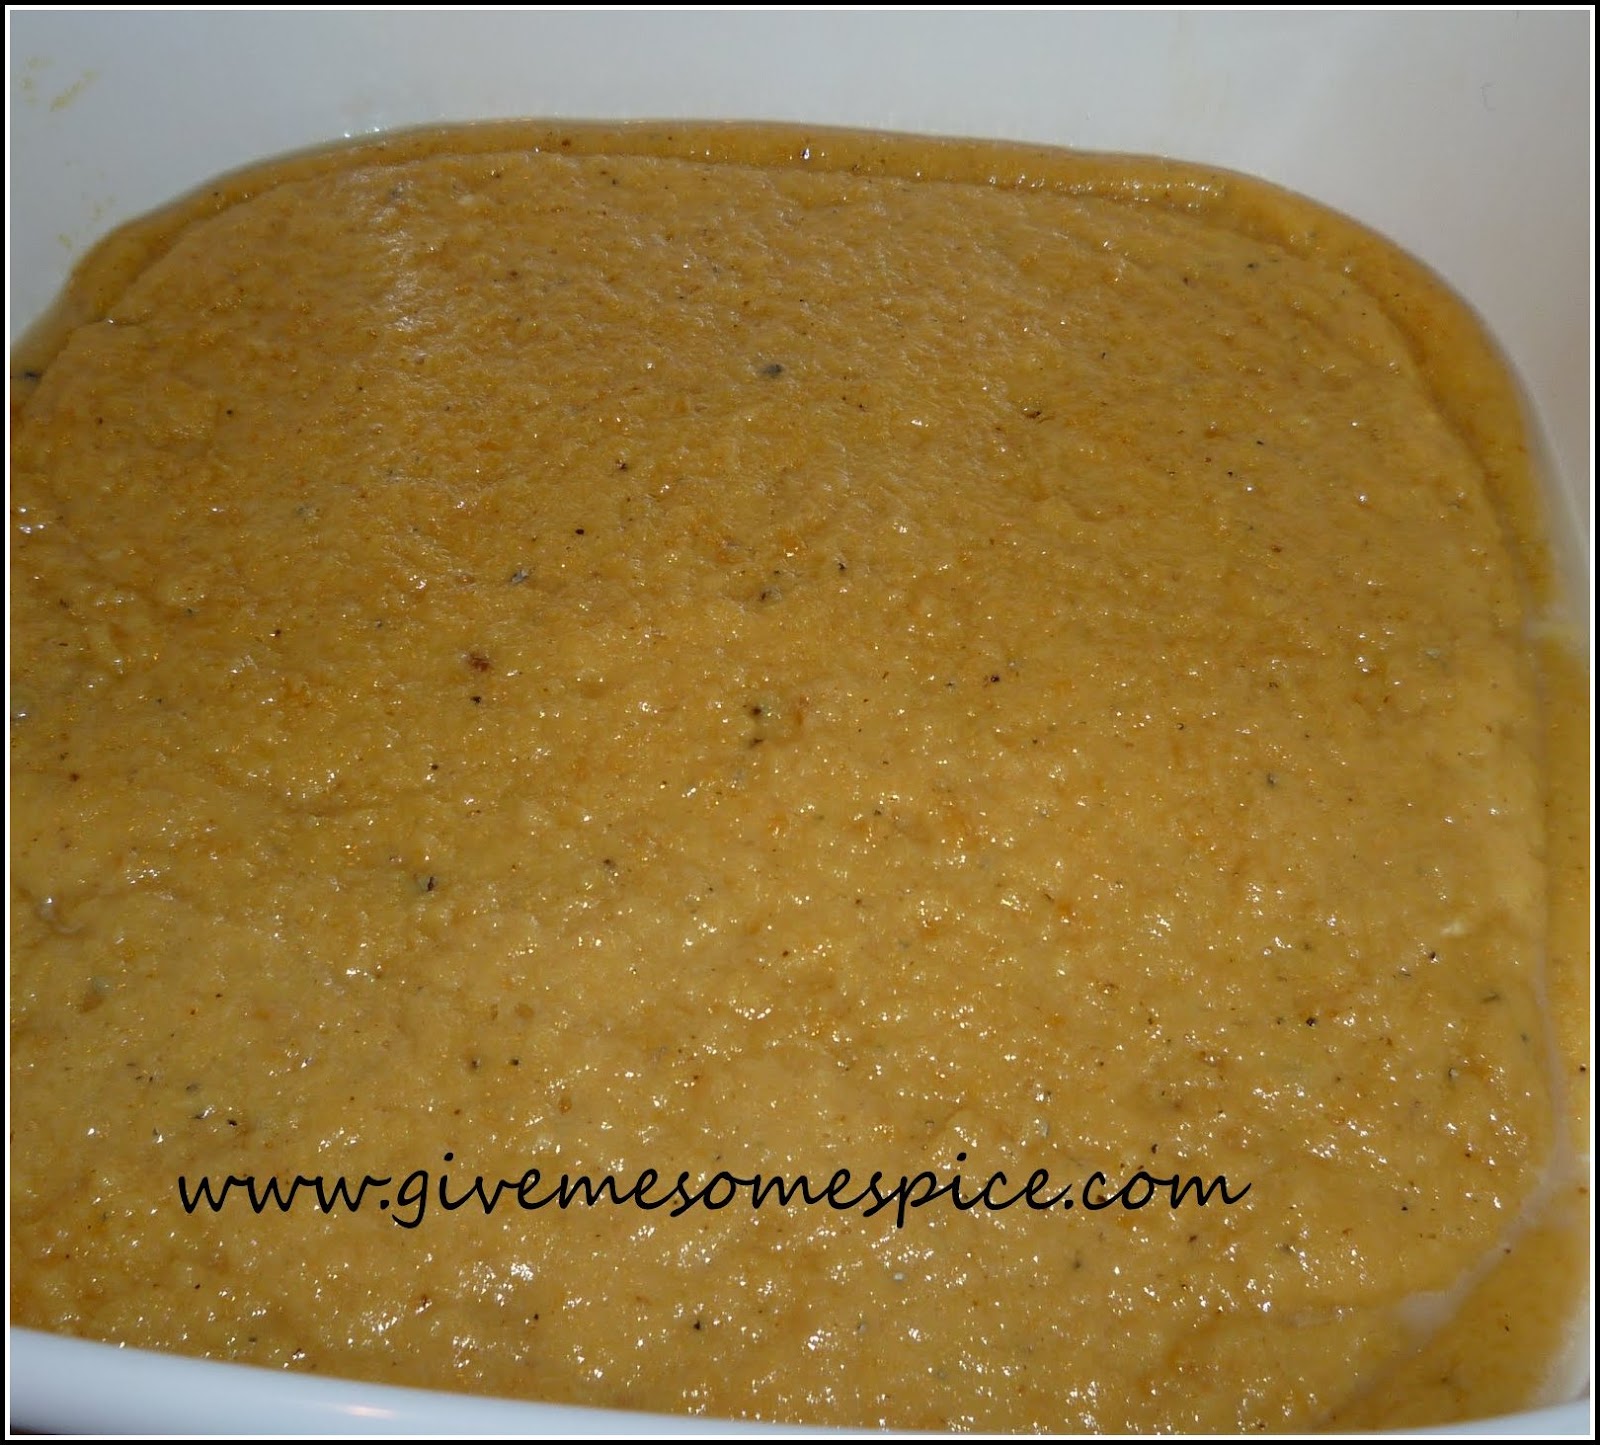
Traditional Gujarati Lapsi for the Celebrate Sweets Event focusing on "Gujarati Sweets"


Lapsi is a traditional Gujarati sweet often served up on auspicious occasions.  I was looking for a partcular lapsi recipe that I had  often been heard my dad mention.   He used to tell us how when he was a young boy, he used to walk miles to see his sister on Veer Pasali day.  Veer Pasali  Day is very similar to Rakshabandhan Day.  On this brothers visit their sisters with  presents and the sister cooks a nice meal for him. I remember my dad mentioning that his sister would always make lapsi for him and serve it to him with lots of ghee.  Even today in Gujarat, when  Lapsi is served to guests, it is served  hot and lots of  ghee is drizzled over it.

Thursday, 7 July 2011

Jalebi a spiral shaped Indian sweet dish


As I mentioned in an earlier posting, I am now a featured writer for the an online  City Connect magazine under the Taste of India Series.  My  recipe for Jalebi has now been published on the City Connect website at http://www.city-connect.org/2011/07/07/jalebi/.    

Please take a look at the online magazine for all my recipes and other interesting information.

The full recipe for Jalebi can also be found here in my blog. 


If you enjoy reading my blog, please click on Follow or become a fan of my page on Facebook or follow me on Twitter. 


My blog  is also available on Kindle.  


Monday, 14 February 2011

Mawa/Khoya Penda


 My hubby and sons have been asking me to make these pendas (or pedas) for a couple of days as they knew that I had bought some mawa/khoya from the Asian Stores.  It comes here in a block and needs to be kept in a fridge and can also be frozen.  It looks like a block of cheese but of  a pale beige/brown colour.   Penda or peda  are my son's favourite sweet so I spent this Sunday morning make pendas. So again I am posting another Kids friendly recipe.

The recipe for these pendas is my father in laws. He made great mawa pendas and I think he would have approved the ones I made.

Ingredients

350 grams of mawa or khoya
350 grams of milk powder
300 grams of sugar
2 teaspoons of ground cardamom
8-10 strands of saffron
½ cup of milk
2-3 tablespoons of almond slices.

Method :

1. Mix the mawa, milk powder and sugar. If you are using readymade mawa/khoya, then I would suggest that you grate it first.

2. Add half a cup of milk to this mixture.


3. Heat this mixture on a low heat.

4. It’s important that you keep stirring the mixture

5. This is a slow process as the mixture will first become all runny. 

6. Keep on stirring and cooking the mixture.

7. Add the cardamom and saffron to the mixture.


8. You will notice the penda mixture going from a pale colour to a slightly darker shade.

9. You will also notice the mixture getting to a thicker consistency.

10. At this stage, switch off the heat and spread out the mixture to cool.


11. Once cool, divide the mixture into small balls and press them with the back of any bowl or use a mould to shape your pendas.

12. Sprinkle the almond slices on the penda. To make it interesting, you can colour the almond slices with food colour

13.   These pendas were made with an extra ingredient - Love- so they tasted divine!!

14.  Any left over pendas can be kept in a cool place in an air tight container.

As I mentioned above, these pendas have to be made at low or medium heat.  You need to keep stirring the mixture to stop it from sticking to the base of your saucepan. Also. it does take quite a bit of time to make but it's worth it at the end. 


Mothers Day Have A Wonderful Mothers Day Icon Icons Sign Signs Emoticon Emoticons Animated Animation Animations Gif Gifs Happy Mothers Day Pictures, Images and Photos


If you enjoy reading my blog, please click on Follow or become a fan of my page on Facebook or follow me on Twitter.  

My blog  is also available on Kindle.
 

Saturday, 22 January 2011

Jalebi - Spiral Shaped Indian Sweet


Jalebis are one of the most popular sweets within the Indian community.   The shape of the jalebis is mostly spiral and it's made from a variation of flours depending on tradition. In some parts of India, it's made from gram flour, in some parts from urad dall flour and in some places from plain flour.   Most jalebis are small but I have seen large jalebis made the size of  a large pizza for some Parsi friends when they were celebrating their New Year.

Jalebis are best eaten fresh and warm.  Most tend to go soft and limp if left around overnight. Gujarati's like to have jalebi and lamba gathia with Sambharo, chutney and fried chillies for the Sunday brunch.For those of you living in London and Leicester will have seen the Queues outside the Gujarati takeaways on Sunday mornings. 

I will admit that it is not an easy sweet to master.  I thought that creating the spiral shape would be the hard part but actually, its the making of the jalebi batter to the right consistency,so that it soaks up the syrup and stays crisp, which requires real talent.  I grew up watching my father and later my father in law make these hot and fresh during Diwali celebrations and at weddings they catered at but never attempted to make them.  I was too busy tasting them.   My poor family had to keep trying out my jalebis as I made at least 4 batches of jalebis  since Christmas before we were all  happy with the results.  I am glad that I did not give up. 

Ingredients for about 20 jalebis


For the jalebi:
2 cups of plain flour
Half a cup of yoghurt preferably sharp yogurt
1 litre Cooking oil for frying the jalebis
2 -3 drops of orange or red food colour

For the syrup:

1 and half cups of sugar
A pinch of saffron
A pinch of cardamom powder
a couple of drops of lemon juice


Method:


1. Take one cup of plain flour and add the yoghurt to it.  Using sharp yoghurt helps with the fermentation of the batter.  Add half a cup of warm water and mix well. The batter should be quite thick and smooth.


2. Cover this mixing bowl and keep it in a warm place for about 12-14 hours. I kept my bowl inside an insulated box.


3. After 12-14 hours, you should see little bubbles which means that the batter is fermenting well.


4. Add the remaining plain flour to the mixture and stir well. Also add the food colour. Getting the right colour can be hard but this can be adjusted if the jalebis turn out a paler colour.


5. Stand the mixing bowl in a bigger bowl which should be filled with hot water. Let this stand for half an hour. The warmth will help with the fermentation of the dough.


Batter being kept warm in warm water

Whilst the batter is being fermented, prepare the syrup.


For the syrup:


6. In a saucepan, add the sugar and one cup of water. Allow this to dissolve.


7. Heat this mixture until the syrup is almost stringy. Add a couple of drops of lemon juice to the syrup. This stops the sugar from crystallising.


8. Add the saffron and cardommon to the syrup and lower the heat.


9.   Now it’s time to make the jalebis. Pour the jalebi batter into a plastic tomato ketchup dispenser. You can use any similar plastic dispensers.  Traditionally, the chef uses either a muslin type cloth or a metal container called a "lota" with a hole at the bottom. Most chefs take their own jalebi makers with them if they are catering anywhere.


pour batter into a plastic dispenser
10. Heat some oil in a large frying pan. Once the oil is hot, reduce the temperature to medium. To test whether the oil is hot, drop a few drops of batter to the oil. If the batter rises too quickly to the top, the oil is hot and the heat should be reduced to medium. Gently pour the batter directly into the oil in small spiral like patterns, taking care to make sure the edges are joined to the rest of the jalebi. I started from the middle and made my spiral outwards.


11. The batter will sink to the bottom and rise up slowly. Turn the jalebis and cook the second side until they are slightly firm, crisp and of a dark yellowish colour.


Jalebis being fried in hot oil


12. At this stage, remove the sugar syrup (often called Chasni) from the heat.


13. Remove the jalebis with a tong and dip them into the sugar syrup for less than a minute

Sugar syrup often called chasni


Jalebis dipped into sugar syrup and removed 


14. Remove and finish making the rest of the jalebis. Enjoy them whilst they are nice and warm and sweet!!


Scrumptious Jalebis


If you enjoy reading my blog, please click on Follow or become a fan of my page on Facebook or follow me on Twitter


My blog is also available on Kindle.


Tuesday, 1 June 2010

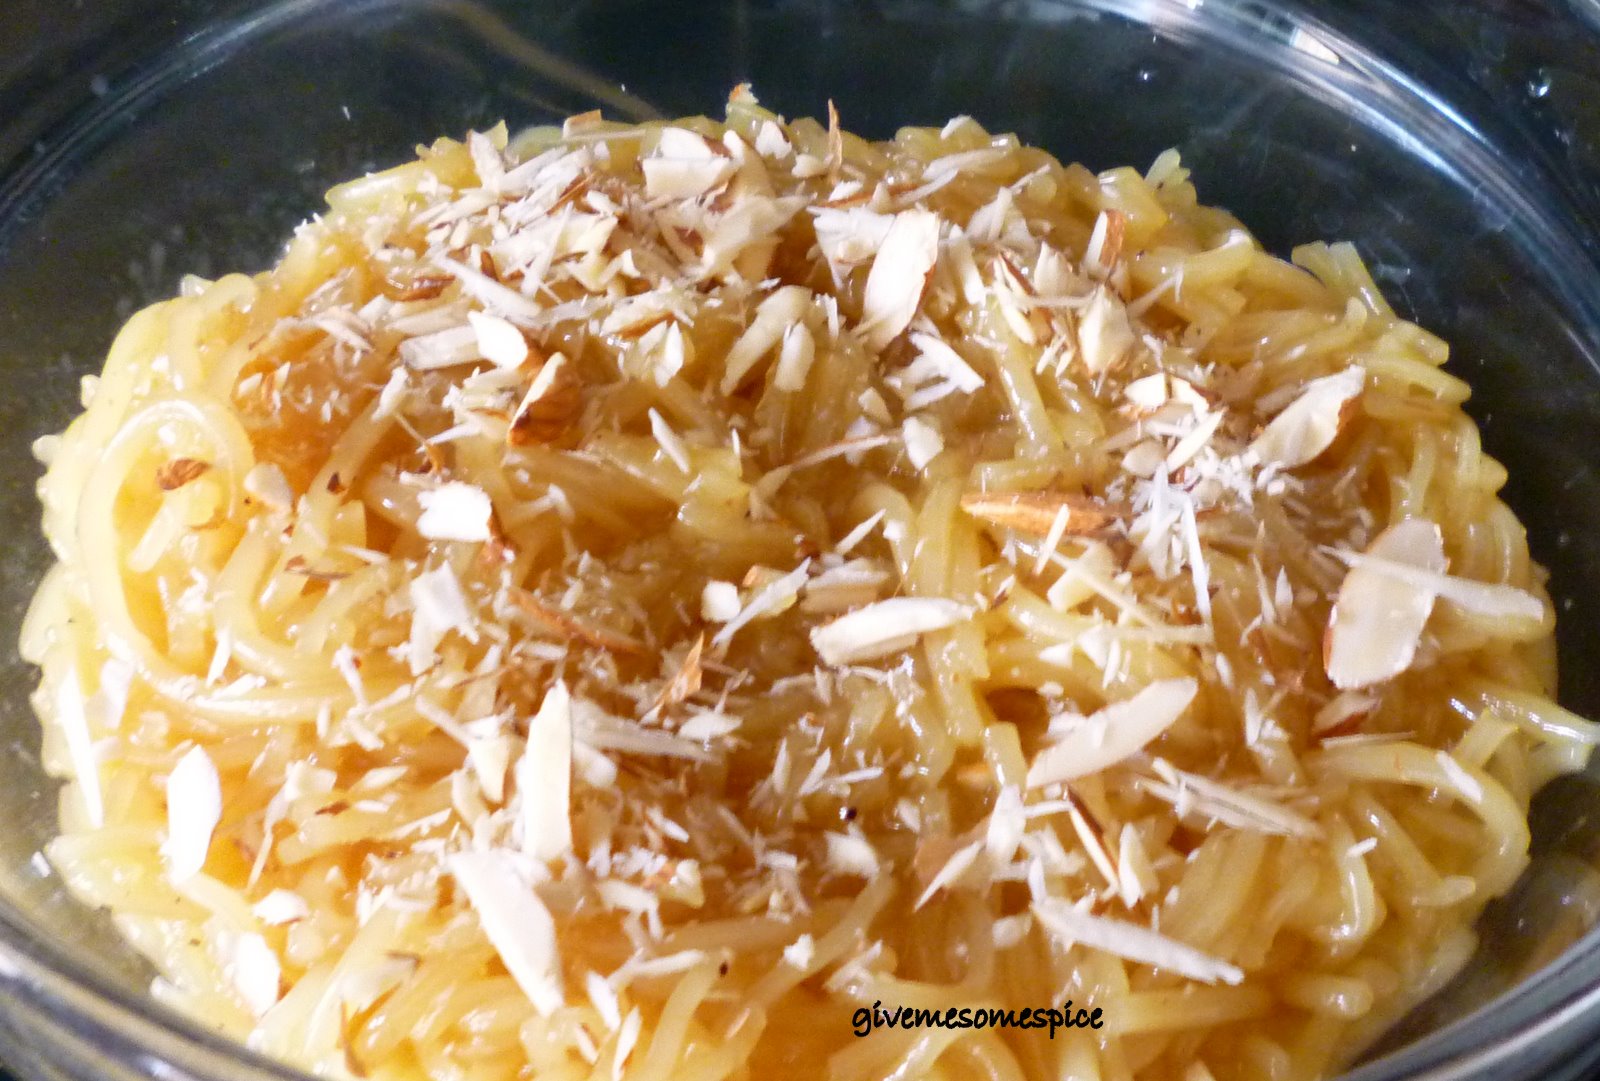
What can you do with leftover Spaghetti?

Want not - waste not is my motto.   I hate any food being wasted as I know that there are so many people in the world who are starving.   So whenever, I end up making extra spaghetti  - I know it won't get wasted.  This recipe was created by my father in law .  He used the leftover spaghetti  to make a sweet  - something similar to "Gujarati sev".  His recipe turned out great and we now call it "bapuji's sev recipe" and we never have to waste any spaghetti.  Here's my recipe for making "bapuji's sev recipe"  from left over spaghetti.   Lately, we have started using the angel hair spaghetti which is really easy to cook and very tasty.  This recipe works great with it.

Ingredients:

One bowl left over angel hair or similar spaghetti (roughly 3 cups)
1 tablespoon ghee (or add some butter)
2 -3 tablespoon jaggery ( you can use more if you have a sweet tooth)
a pinch or two of cardommon powder
half cup water]
sliced almonds and pistachios to decorate the dish.

Method:

1.   Add the ghee to the  jaggery  and warm the two until the jaggery starts to melt.
2.   Add the water to this mixture and wait for it to boil.


3.   Add the spaghetti and cook until all the water evaporates. This procedure should be done on medium heat so that the spaghetti absorbs the sweet flavours.  Keep stirring it every so often.
4.   Add the cardommon and mix well.
5.   Transfer to the serving dish and decorate with sliced almonds and pistachios.
6.   This dish tastes best if served hot with some vanilla icecream.


If you enjoy reading my blog, please Follow or become a fan of my page on Facebook or follow me on Twitter.


"This recipe is being reposted for the Scrumptious Delights From Leftovers Event being hosted by PJ from Seduce your Taste Buds."

Photobucket
www.givemesomespice.com